
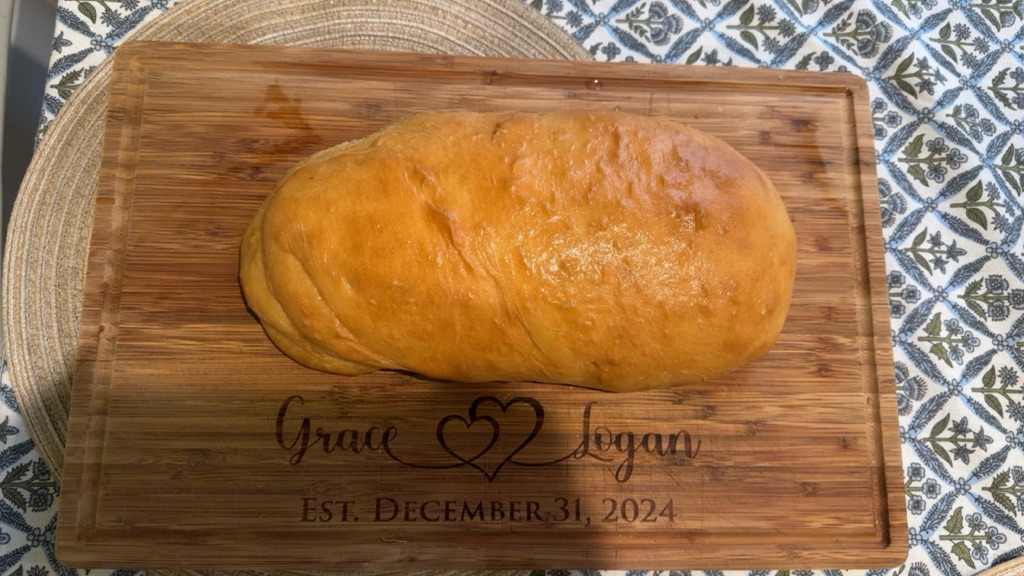
There are few things in life that make a house feel more like a home than the smell of homemade bread baking in the oven.
For our family, homemade bread has become more than just something we bake. It’s become a tradition.
Making Bread Is About More Than the Bread
It starts with a simple bowl of flour, water, yeast, salt, and a little patience. Before long, our kitchen is covered in flour, tiny handprints find their way onto the countertop, and someone always ends up with dough stuck to their fingers.
Those little moments are some of my favorites.
Making homemade bread gives us a chance to slow down and have fun together as a family. There might be flour on the counter—and probably some on the floor—but that’s part of it. At the end of the day, we’re not just making a loaf of bread. We’re making memories together.
Homemade Bread Is Easier Than You Think
One of the things I love most about bread making is how simple it really is.
A lot of people think baking bread is difficult, but the truth is that most of the process is just waiting. The yeast does the hard work while you go about your day.
Mix the ingredients together, knead the dough for a few minutes, and then let time work its magic.
Once you’ve made a loaf or two, you start to realize that homemade bread doesn’t have to be an all-day project. Sure, several hours might pass between starting the dough and pulling the loaf from the oven, but most of that time is spent letting the dough rest and rise.
The Science Behind the Yeast
There’s something fascinating about watching yeast come to life.
Those tiny living organisms feed on the sugars in the dough and release carbon dioxide, creating thousands of little air pockets helping the bread rise and giving the bread its soft, fluffy texture.
It’s one of the simplest examples of science happening right in your own kitchen, and I never get tired of watching a bowl of dough double in size.
Nothing Beats the Smell of Homemade Bread
Then comes the best part.
As the bread begins to bake, the entire house fills with an aroma that’s hard to describe unless you’ve experienced it yourself.
It’s warm, comforting, and somehow makes everything feel a little slower. You can smell it from every room in the house.
Warm Bread and Butter
When that loaf finally comes out of the oven, golden brown with a crisp crust, it’s nearly impossible to wait. We usually slice into it while it’s still warm, spread on a generous layer of butter, and watch it melt into every soft bite.
In my opinion, there isn’t a store-bought loaf in the world that can compete with fresh homemade bread straight from the oven.
Why I Love Baking Bread at Home
Another reason I enjoy baking our own bread is knowing exactly what’s going into it. Homemade bread is often much simpler than many commercial loaves. Instead of a long ingredient list filled with preservatives and dough conditioners to extend shelf life, you’re usually working with just a handful of pantry staples. It’s fresh, wholesome, and made with ingredients you can actually pronounce.
That doesn’t mean homemade bread has to be complicated or time-consuming. Once you’ve made a loaf or two, you’ll realize how approachable it really is. It’s one of those kitchen skills that seems intimidating until you try it. Then you wonder why you waited so long.
Bread Is a Staple at Our Family Table
Bread has become a staple in our home. Almost every dinner includes a slice with butter sitting next to the plate. Whether we’re having soup on a cold winter evening, spaghetti on a busy weeknight, or a big Sunday family meal, fresh bread somehow makes the table feel complete.
That’s really what the Midwest Family Table is all about.
It’s not just the recipes.
It’s the conversations around the dinner table, the flour on the floor after baking with family, the smell drifting through the house, and the memories that are created while making something with your own hands.
Give Homemade Bread a Try
I hope you’ll give homemade bread a try. It doesn’t have to be perfect. Your first loaf might be a little lopsided, the second one might rise too much, and the third might finally be the one you can’t stop talking about.
Every loaf teaches you something.
And before you know it, you’ll find yourself making bread not because you have to—but because you can’t imagine your home without it.
Welcome to our family table.

Ingredients
Method
- In a large bowl or stand mixer add the yeast, water and a pinch of the sugar or honey. Allow to rest for 5-10 minutes until foaming and bubbly. (This is called “proofing” the yeast, to make sure it is active. If it doesn’t foam, the yeast is no good, and you need to start over with fresh yeast).
- Add remaining sugar or honey, salt, oil, and 3 cups of flour. Mix to combine.
- Add another cup of flour and mix to combine. With the mixer running add more flour, ½ cup at a time, until the dough begins to pull away from the sides of the bowl. The dough should be smooth and elastic, and slightly stick to a clean finger, but not be overly sticky. Add a little more flour, if needed.
- Mix the dough for 4-5 minutes on medium speed (or knead with your hands on a lightly floured surface, for 5-8 minutes).
- Grease a large bowl with oil or cooking spray and place the dough inside, turning to coat. Cover with a dish towel or plastic wrap and allow to rise in a warm place* until doubled in size, about 1 ½ hours.
- Spray two 9×5'' bread pans generously with cooking spray on all sides. (I also like to line the bottom of the pans with a small piece of parchment paper, but this is optional.)
- Punch the dough down well to remove air bubbles. Divide into two equal portions. Shape each ball into long logs and place into greased loaf pans.
- Cover pans with a lightweight, dry dish towel (or spray two pieces of plastic wrap generously with cooking spray and lay them gently over the pans). Allow dough to rise again for about 45 minutes to one hour, or until risen about 1 inch above the loaf pans. Gently removing covering.
- Preheat oven to 350 F. Bake bread for about 30-33 minutes, or until golden brown on top. Give the top of a loaf a gentle tap; it should sound hollow.
- Invert the loaves onto a wire cooling rack. Brush the tops with butter and allow to cool for at least 10 minutes before slicing.
- Once cool, store in an airtight container or bag for 2-3 days at room temperature, or up to 5 days in the refrigerator.
Notes
Allow to rise until doubled. Then remove, punch down and shape into loaves. To make ahead: Make the bread dough through step 4, before the first rise. Place in a large airtight container, and refrigerate for up to one day. Remove from fridge and allow to come to room temperature. Proceed with punching down and forming loaves. To freeze the dough: Prepare the recipe through step (6), before the second rise. Place the shaped loaves into a freezer-safe or disposable aluminum bread pan. Cover tightly with a double layer of aluminum foil and freeze for up to 3 months. When ready to bake, allow the loaves to thaw and complete the second rise, at room temperature (about 5 hours). Bake as directed.
To freeze baked bread: Allow baked bread to cool completely. Place each loaf in a freezer-safe resealable bag and freeze for up to 3 months. Thaw at room temperature on the countertop, or overnight in the refrigerator. Bread Machine: If using a bread machine, you may want to cut this recipe in half to make 1 loaf (depending on the capacity of your machine).
Leave a Reply